Now Reading: Unlock the Power of Raspberry Pi 5: A Comprehensive Guide
-
01
Unlock the Power of Raspberry Pi 5: A Comprehensive Guide
Unlock the Power of Raspberry Pi 5: A Comprehensive Guide
Unlock the Power of Raspberry Pi 5: A Comprehensive Guide is a versatile and affordable project for technology enthusiasts to dive into. Raspberry Pi offers a range of possibilities, and this guide will provide you with all the information you need to unleash its full potential.
Whether you are a beginner or already familiar with Raspberry Pi, this comprehensive guide will walk you through various aspects, including installation, setup, power options, and more. Get ready to unlock the power of Raspberry Pi 5 and embark on an exciting journey into the world of technology.
Introduction To Raspberry Pi 5
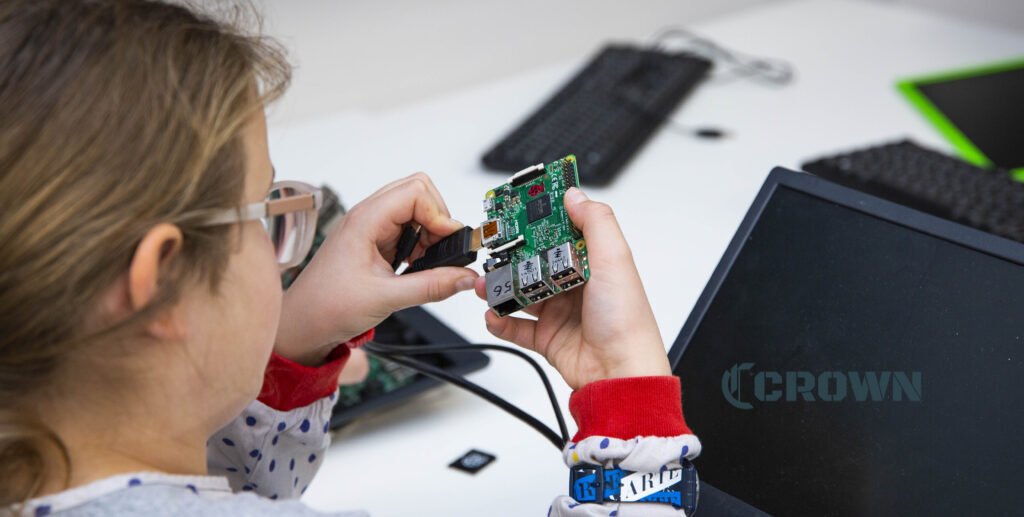
Are you fascinated by the world of technology and looking for an exciting project to dive into? Look no further! Raspberry Pi is a versatile and affordable miniature computer that has gained immense popularity among tech enthusiasts, students, and hobbyists. So, what exactly is Raspberry Pi?
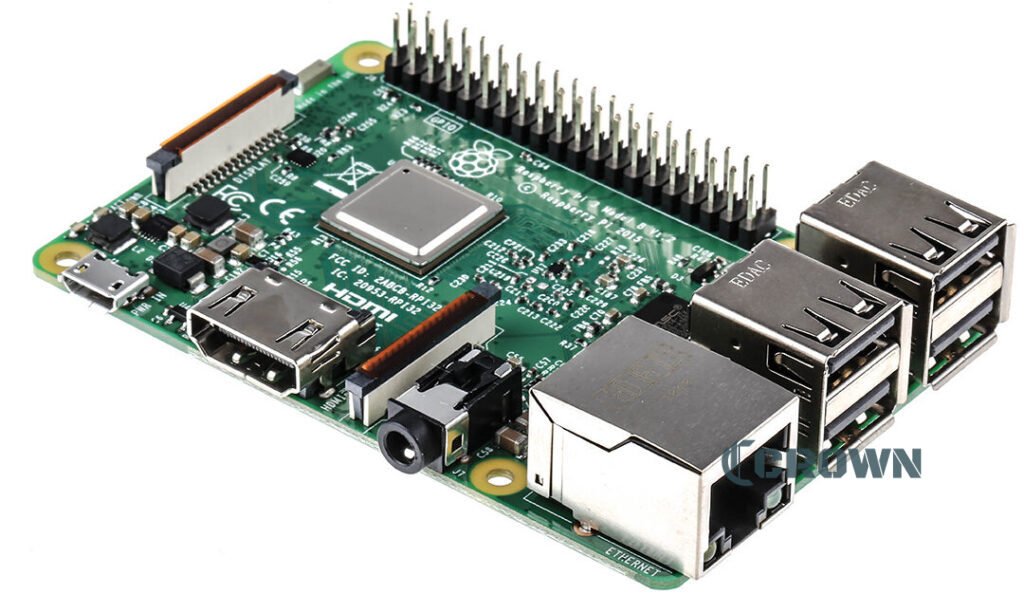
In a nutshell, Raspberry Pi is a series of credit card-sized single-board computers that can be programmed to perform various tasks. Since its launch in 2012, Raspberry Pi has undergone several iterations, and the latest version is Raspberry Pi 5. This powerful device comes with improved performance, connectivity options, and features.
Whether you want to explore coding, robotics, or IoT or wish to set up a media center, Raspberry Pi can be your go-to device. With its user-friendly interface and versatile capabilities, Raspberry Pi offers endless possibilities for projects and learning opportunities.
If you’re new to Raspberry Pi, don’t worry! In this comprehensive guide, we’ll cover everything you need to know about Raspberry Pi, from its evolution to its latest features and functionalities of Raspberry Pi 5. So, let’s unlock the power of Raspberry Pi and embark on an exciting journey into the world of technology!
Getting Started With Raspberry Pi 5
Getting started with Raspberry Pi 5 is easy and requires a few essential items. To start, you’ll need the following:
- Raspberry Pi 5
- SD card with Raspberry Pi OS installed
- Power source for the Pi
Once you have these items, you can begin the setup process. First, you’ll need to insert the SD card into the Raspberry Pi. Then, power up the Pi using a suitable power source. After powering up, you must configure the initial settings, including changing the default password and checking for updates. Finally, you can customize the Raspberry Pi settings to your preferences.
By following these steps, you’ll unlock the power of Raspberry Pi 5 and be ready to explore its capabilities to the fullest.
Powering Raspberry Pi 5
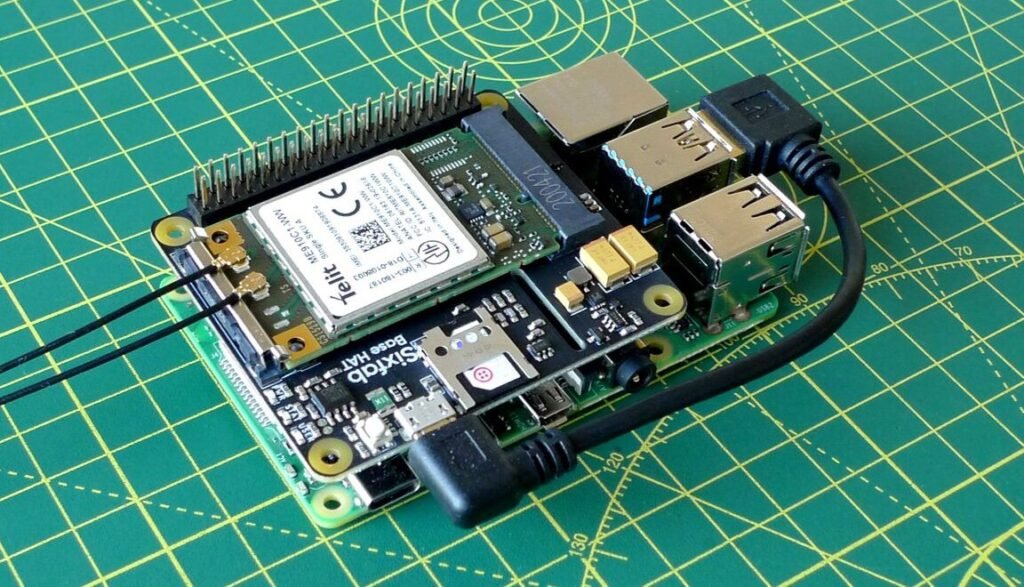
A micro-USB cable is one of the different ways to power the Raspberry Pi. This involves connecting the micro-USB cable to a USB port on a laptop or other device. It’s important to note that there are different USB connectors, and the Raspberry Pi uses a micro-USB connector specifically.
Another option is to connect the Raspberry Pi with an AC adapter directly. This method provides a more stable and reliable power source for the device.
Powering the Raspberry Pi
| Method | Description |
|---|---|
| Using a micro-USB cable | Connect the micro-USB cable to a USB port on a laptop or other device. |
| It is directly connected to an AC adapter. | Connect the Raspberry Pi directly to an AC adapter for a stable power source. |
By understanding these different options for powering the Raspberry Pi, you can ensure the device has the power supply to operate effectively.
Installing The Operating System (OS)
Unlock the Power of Raspberry Pi 5: A Comprehensive Guide
Downloading the latest version of Raspberry Pi Imager
To install the operating system on your Raspberry Pi 5, you must first download the newest version of Raspberry Pi Imager. This tool allows you to easily prepare your SD card with the required files for the Raspberry Pi OS.
Preparing the SD card
After downloading the Raspberry Pi Imager, insert your SD card into the computer with a card reader or an adapter. Open the Raspberry Pi Imager and choose the required OS from the list provided. Select the correct SD card in the device box.
Installing the Raspberry Pi OS
Once the SD card is prepared, please insert it into your Raspberry Pi 5. Power up the Pi and follow the first boot setup instructions. Change the default password for security purposes. Check for any available updates and configure your Raspberry Pi settings according to your preferences.
Unleashing The Comprehensive Power Of Raspberry Pi 5
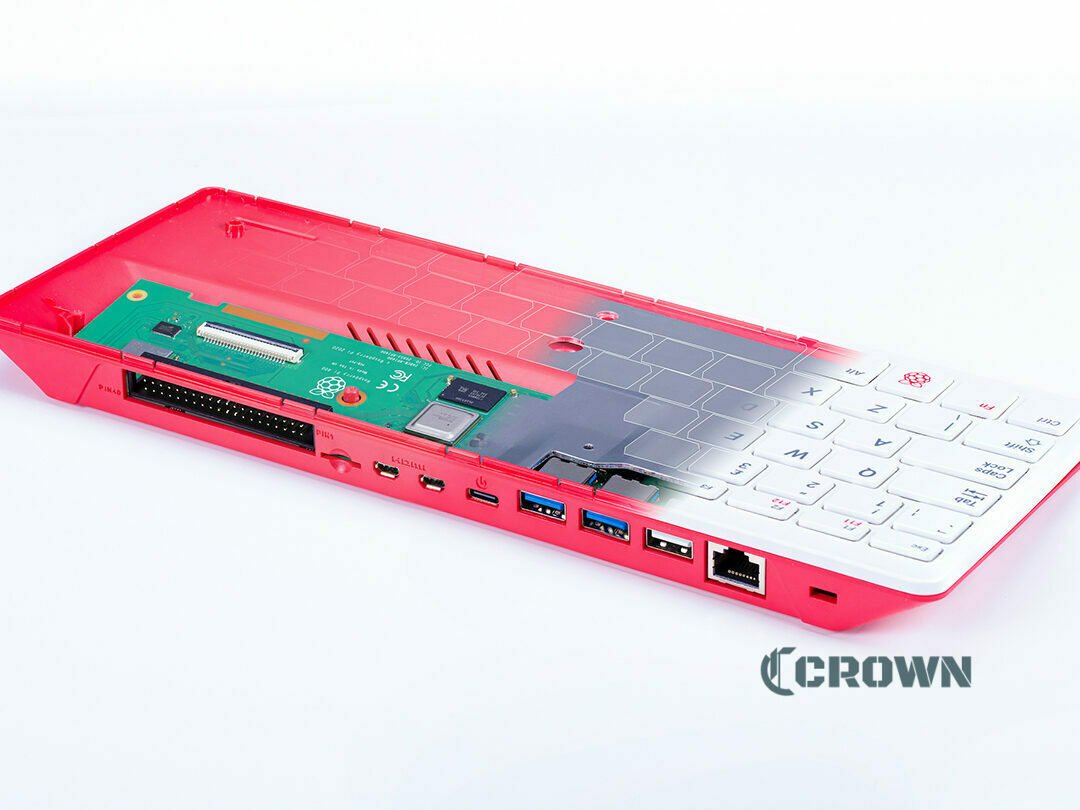
Raspberry Pi 5 is a powerful device with a wide range of capabilities. With its networking and connectivity options, you can easily connect to the internet, transfer data, and communicate with other devices. It supports various programming languages and coding possibilities, making it suitable for developers and enthusiasts. Whether you want to create a home automation system, a media center, or a gaming console, Raspberry Pi 5 allows you to bring your projects to life. Its versatility and affordability make it a popular choice among tech enthusiasts. So, unleash the comprehensive power of Raspberry Pi 5 and explore its vast potential today!
Critical features of Raspberry Pi 5:
- Networking and connectivity options
- Programming and coding possibilities
- Creating projects with Raspberry Pi 5
Unlock the power of Raspberry Pi 5 and dive into the world of limitless possibilities!
Frequently Asked Questions Of Unlock The Power Of Raspberry Pi 5: A Comprehensive Guide
How Do I Give My Raspberry Pi Power?
Additionally, you can follow a guide to install the Raspberry Pi OS on an SD card for complete setup.
What Is The Power Of 5V Pins On Raspberry Pi?
How Do You Power A Raspberry Pi From A Usb?
How To Install Raspbian Os On Sd Card?
1. Download the Raspberry Pi Imager.
2. Insert the SD card into your computer using a card reader.
3. Open the Raspberry Pi Imager and select the OS you want.
4. Choose the correct SD card for the device.
5. Click “Write” to install Raspbian on the SD card.
Conclusion
To unlock the power of Raspberry Pi 5, this comprehensive guide has provided you with all the information you need to get started. From the installation of the Raspberry Pi OS to powering up the device, configuring settings, and checking for updates, you’re now equipped to leverage the full potential of this versatile and affordable technology.
So, dive into the world of technology and embark on exciting projects with Raspberry Pi 5. Get ready to unleash your creativity!