Now Reading: How to Connect Apple Watch to Wifi
-
01
How to Connect Apple Watch to Wifi

How to Connect Apple Watch to Wifi
To connect your Apple watch to Wi-Fi, go to settings, wi-fi, and select your network.
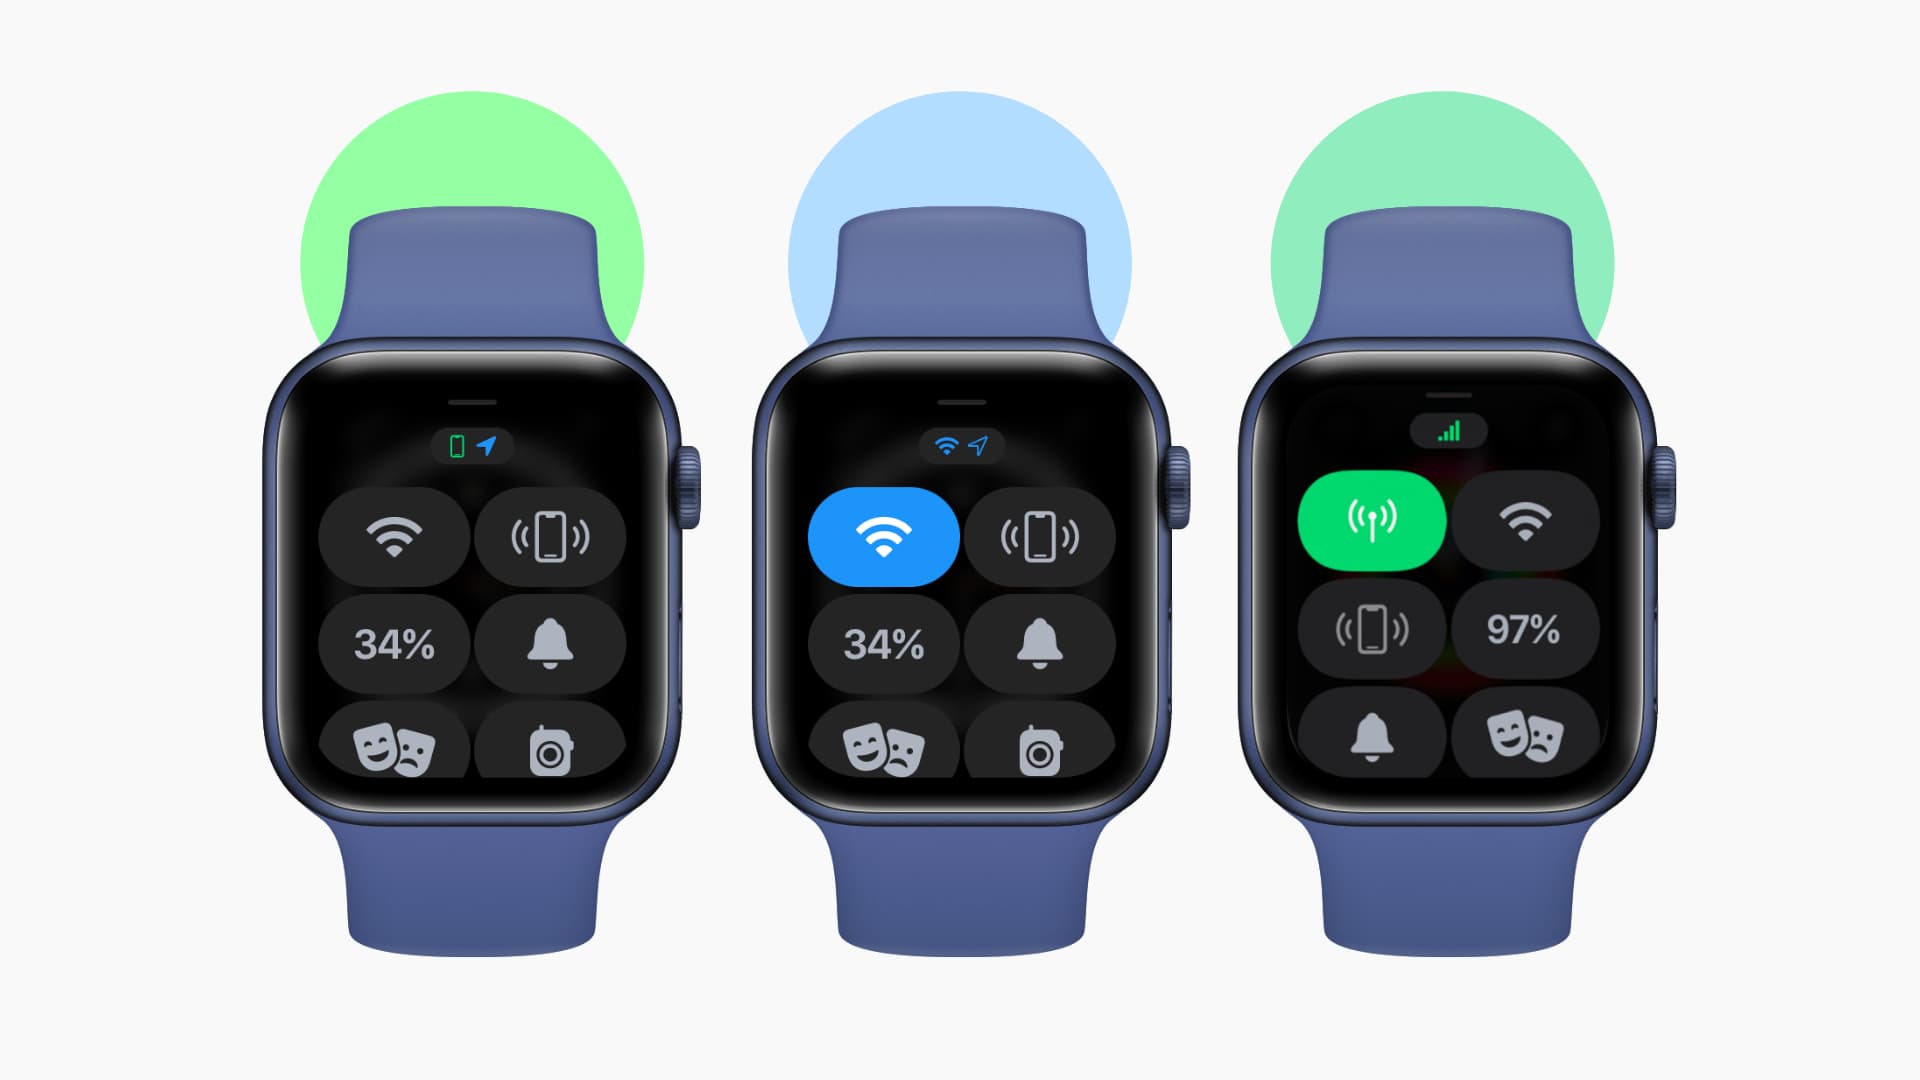
Credit: www.idownloadblog.com
Why Connect Apple Watch To Wifi?
Connecting your Apple watch to Wi-Fi offers several benefits, enhancing your overall user experience. You gain access to a wide range of features and functionalities by establishing a connection. Whether receiving notifications, updating apps, or even streaming music, wi-fi connectivity ensures you never miss a beat.
Moreover, connecting your Apple watch to Wi-Fi allows for seamless integration with other devices. This means you can easily sync your data, such as calendars and reminders, across all your Apple devices. You can also take advantage of the handoff feature, enabling you to comfortably switch between devices without missing a step.
So, don’t miss out on Wi-Fi connectivity’s convenience and enhanced functionality to your Apple watch.
Checking Apple Watch Compatibility
To connect your Apple Watch to wifi, start by checking its compatibility. Confirm your Apple watch model and ensure that it supports wifi connectivity. Next, check the software version on your Apple watch to ensure it is current.
This is important as older versions might not have the necessary Wi-Fi features. Finally, you must ensure your wifi network is compatible with the Apple watch. Check if your network uses the appropriate protocols and security settings required by the device.
Following these steps, you can successfully connect your Apple Watch to wifi and enjoy its full features and functions.
Connecting Apple Watch To Wifi
Access the settings app on your Apple Watch, then navigate to the wi-fi settings. Select the desired Wi-Fi network and enter the password to connect to it. Following these steps, you can easily connect your Apple watch to a Wi-Fi network.
Troubleshooting Wifi Connection Issues
Having trouble connecting your Apple watch to wifi? Don’t worry; we’ve got you covered. One common issue is when the look fails to find available wifi networks. This could be due to a weak signal or interference. Another problem could be entering an incorrect wifi password.
Double-check that you’ve entered it correctly. Sometimes, the issue may be related to software or hardware problems. To troubleshoot these, try restarting your watch or updating its software. If you’re still experiencing difficulties, consider contacting Apple support for further assistance.
Following these steps, you can connect your Apple watch to wifi smoothly and enjoy all its features.
Tips And Best Practices For Wifi Connection
Following these tips and best practices is essential to connect your Apple Watch to wifi. Ensure a strong wifi signal by staying within range and avoiding obstructions. Regularly update your Apple Watch software to fix any connectivity issues.
Disconnect from unnecessary wifi networks to avoid interference and conserve battery life. And most importantly, secure your wifi access with a strong password to protect your device from external threats. Adhering to these guidelines allows you to enjoy uninterrupted connectivity on your Apple Watch without hassle.
So follow these steps for a seamless wifi experience on your Apple watch.
Frequently Asked Questions Of How To Connect Apple Watch To Wifi
How Do I Connect My Apple Watch To Wifi?
Can Apple Watch Connect To Wifi Without iPhone?
How Can I Check The Wifi Network My Apple Watch Is Connected To?
Conclusion
Connecting your Apple watch to Wi-Fi is a simple process allowing you to access various features and functions conveniently. Following the steps outlined in this blog post, you can quickly connect your Apple watch to a Wi-Fi network of your choice.
First, ensure that your Apple watch is powered on and within a compatible Wi-Fi network range. Next, open the settings app on your Apple watch and navigate to the Wi-Fi menu. Select the desired network from the list and enter the required password.
Once connected, your Apple watch will display a green checkmark next to the network name. Remember to keep your Apple watch close to the Wi-Fi source for a stable connection. With your Apple watch successfully connected to Wi-Fi, you can enjoy all its benefits and functionalities.
Happy connecting!